


16
Stories and AARs / The Kingdom of Macedonia - A Persian Invasion AAR
« on: March 02, 2012, 09:55:06 PM »
So, Persian Invasion is finally released, and I thought I would make an AAR of my first campaign on it!
I looked at the factions in custom battles, and decided to play a Greek Hegemony campaign as Athens. I conquered a city, then ended my first turn. The a stroke of ridiculous bad luck as my faction leader died causing game over to occur. His son comes of age on turn 2 or 3...
I decided to try again, but this time with...


Alexander woke up from his dream. He had been dreaming of a time when Greece had been known to rule the world. A time when even the great Persian Empire was no more, and the people living in its bounds were heavily influenced by the Greek culture he knew. He had dreamt that the Greeks had ruled the world, rather than being a collection of city states fighting amongst themselves.
Alexander thought this was a good dream. Indeed, his opinion of it was made even better when the man's voice had proclaimed that the fallen empire was all the work of 'Alexander'. Whether this dream was a vision of his own future, a vision of the future of a descendant of his, or even just a simple dream he did not know. All he knew was what he wanted; to be this 'Alexander' spoken of in his dream, and lead all of the known world under the banner of the Kingdom of Macedonia!
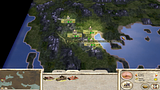
Alexander's Kingdom
He ordered the creation of road infrastructure across his kingdom, as well as commissioning the building of places for the Macedonian Levies who defend the kingdom's borders from the Greek city states in the south and the barbaric tribesmen to the north to be trained more effectively. If one wishes to conquer the world, these things are a simple necessity.

Over a year had passed, and still Alexander's kingdom had not grown. He had become restless and hungry to begin his expansion some months earlier, and had sent his adopted heir Nearchos with a company of Royal Guards and a number of Levies to take the rebellious city state of Olynthus in the name of Macedonia. They had finally prepared to launch an assault by the winter...

Olynthus' days are numbered
I surveyed the scene outside the town. My first thought was that "city state" was too good a name for these backward rebels. Their so called city was little larger that some Macedonian villages I have seen, at least from the outside. I met with my commanders, and we decided on a frontal assault, seeing as how the town was defended by only a single troop of Hoplites. Arrogant rebels!
The rams we needed to break through their walls were soon constructed, and I sounded the order through the camp at dawn to prepare for a battle. Only a few hours later, the lines were assembled outside the town walls with our rams ready to move into position. I shouted some meaningless words of encouragement to the men and sounded the advance.
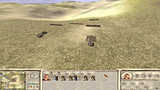
Rams advance towards the town
The rams seemed to take an eternity to break through, but when the walls were breached we met no resistance. I realised this must mean the garrison was protecting the centre of the town, having decided it impractical to defend their walls. Perhaps they are less arrogant than I imagined.
The walls are breached
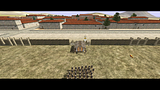
Once again I sounded the advance and my men marched through the newly made openings and into the town. I ordered my most experienced troops, the Royal Guards, to lead the offensive and to head straight to the city, backed up by three of my units of Levies. One unit of Levies was kept back, in case the hoplites fought well enough to require a more refined manouver.
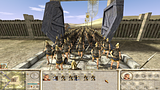
The advance begins
The Royal Guards had not long since engaged the hoplites when word reached me that these rebels are indeed stronger than anticipated! My Royal Guards were being crushed, the hoplites pinning them against walls with their long spears. I ordered the reserve Levies to join the fight, and lead my bodyguards into the city and around to the rear entrance to the town centre.
Before the tide of the battle can be turned however the remaining Royal Guards decide that they have had enough, and turn to run from the battle. I would normally detest this kind of behaviour, but accept that a tactical error on my part caused them to lose far more men than they should. The hoplites began to push into the ranks of my weaker Levies, carving a path into their ranks.
As I turned the final corner to enter the town plaza, the sound of hooves behind the hoplites must have broken their resolve, as those left cast their spears on the ground and begged for mercy. Impressed by their bravery and fighting ability I give them their lives. The town however, is now under the rule of King Alexander I of Macedonia!
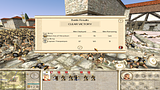
The town is ours!

Almost two years after the Siege of Olynthus, the town had grown to a respectable size and had been fully integrated into the kingdom. This was a period of calm as troops were replenished and buildings were improved. However, worrying news reached Alexander in early summer of the year 487BC. A messenger arrived from the city of Styberra, bringing news of a moderately sized Illyrian force near the region's north border. They were seemingly preparing to enter Macedonian lands.
The King ordered a deterrant to be placed in the city of Styberra in the form of a number of Macedonian Levies being moved from their various posts to garrison the city. Sure enough, upon hearing news of this the Illyrian army disappeared back into their own territory and once again Alexander began to dream of conquest...
I looked at the factions in custom battles, and decided to play a Greek Hegemony campaign as Athens. I conquered a city, then ended my first turn. The a stroke of ridiculous bad luck as my faction leader died causing game over to occur. His son comes of age on turn 2 or 3...
I decided to try again, but this time with...
Alexander woke up from his dream. He had been dreaming of a time when Greece had been known to rule the world. A time when even the great Persian Empire was no more, and the people living in its bounds were heavily influenced by the Greek culture he knew. He had dreamt that the Greeks had ruled the world, rather than being a collection of city states fighting amongst themselves.
Alexander thought this was a good dream. Indeed, his opinion of it was made even better when the man's voice had proclaimed that the fallen empire was all the work of 'Alexander'. Whether this dream was a vision of his own future, a vision of the future of a descendant of his, or even just a simple dream he did not know. All he knew was what he wanted; to be this 'Alexander' spoken of in his dream, and lead all of the known world under the banner of the Kingdom of Macedonia!

Alexander's Kingdom
He ordered the creation of road infrastructure across his kingdom, as well as commissioning the building of places for the Macedonian Levies who defend the kingdom's borders from the Greek city states in the south and the barbaric tribesmen to the north to be trained more effectively. If one wishes to conquer the world, these things are a simple necessity.
Over a year had passed, and still Alexander's kingdom had not grown. He had become restless and hungry to begin his expansion some months earlier, and had sent his adopted heir Nearchos with a company of Royal Guards and a number of Levies to take the rebellious city state of Olynthus in the name of Macedonia. They had finally prepared to launch an assault by the winter...

Olynthus' days are numbered
I surveyed the scene outside the town. My first thought was that "city state" was too good a name for these backward rebels. Their so called city was little larger that some Macedonian villages I have seen, at least from the outside. I met with my commanders, and we decided on a frontal assault, seeing as how the town was defended by only a single troop of Hoplites. Arrogant rebels!
The rams we needed to break through their walls were soon constructed, and I sounded the order through the camp at dawn to prepare for a battle. Only a few hours later, the lines were assembled outside the town walls with our rams ready to move into position. I shouted some meaningless words of encouragement to the men and sounded the advance.

Rams advance towards the town
The rams seemed to take an eternity to break through, but when the walls were breached we met no resistance. I realised this must mean the garrison was protecting the centre of the town, having decided it impractical to defend their walls. Perhaps they are less arrogant than I imagined.

The walls are breached
Once again I sounded the advance and my men marched through the newly made openings and into the town. I ordered my most experienced troops, the Royal Guards, to lead the offensive and to head straight to the city, backed up by three of my units of Levies. One unit of Levies was kept back, in case the hoplites fought well enough to require a more refined manouver.

The advance begins
The Royal Guards had not long since engaged the hoplites when word reached me that these rebels are indeed stronger than anticipated! My Royal Guards were being crushed, the hoplites pinning them against walls with their long spears. I ordered the reserve Levies to join the fight, and lead my bodyguards into the city and around to the rear entrance to the town centre.
 |  |
Guards are being crushed. | Levies reinforce. |
Before the tide of the battle can be turned however the remaining Royal Guards decide that they have had enough, and turn to run from the battle. I would normally detest this kind of behaviour, but accept that a tactical error on my part caused them to lose far more men than they should. The hoplites began to push into the ranks of my weaker Levies, carving a path into their ranks.
 |  |
Guards flee | Levies are cut down |
As I turned the final corner to enter the town plaza, the sound of hooves behind the hoplites must have broken their resolve, as those left cast their spears on the ground and begged for mercy. Impressed by their bravery and fighting ability I give them their lives. The town however, is now under the rule of King Alexander I of Macedonia!

The town is ours!
Almost two years after the Siege of Olynthus, the town had grown to a respectable size and had been fully integrated into the kingdom. This was a period of calm as troops were replenished and buildings were improved. However, worrying news reached Alexander in early summer of the year 487BC. A messenger arrived from the city of Styberra, bringing news of a moderately sized Illyrian force near the region's north border. They were seemingly preparing to enter Macedonian lands.
The King ordered a deterrant to be placed in the city of Styberra in the form of a number of Macedonian Levies being moved from their various posts to garrison the city. Sure enough, upon hearing news of this the Illyrian army disappeared back into their own territory and once again Alexander began to dream of conquest...


 .
.

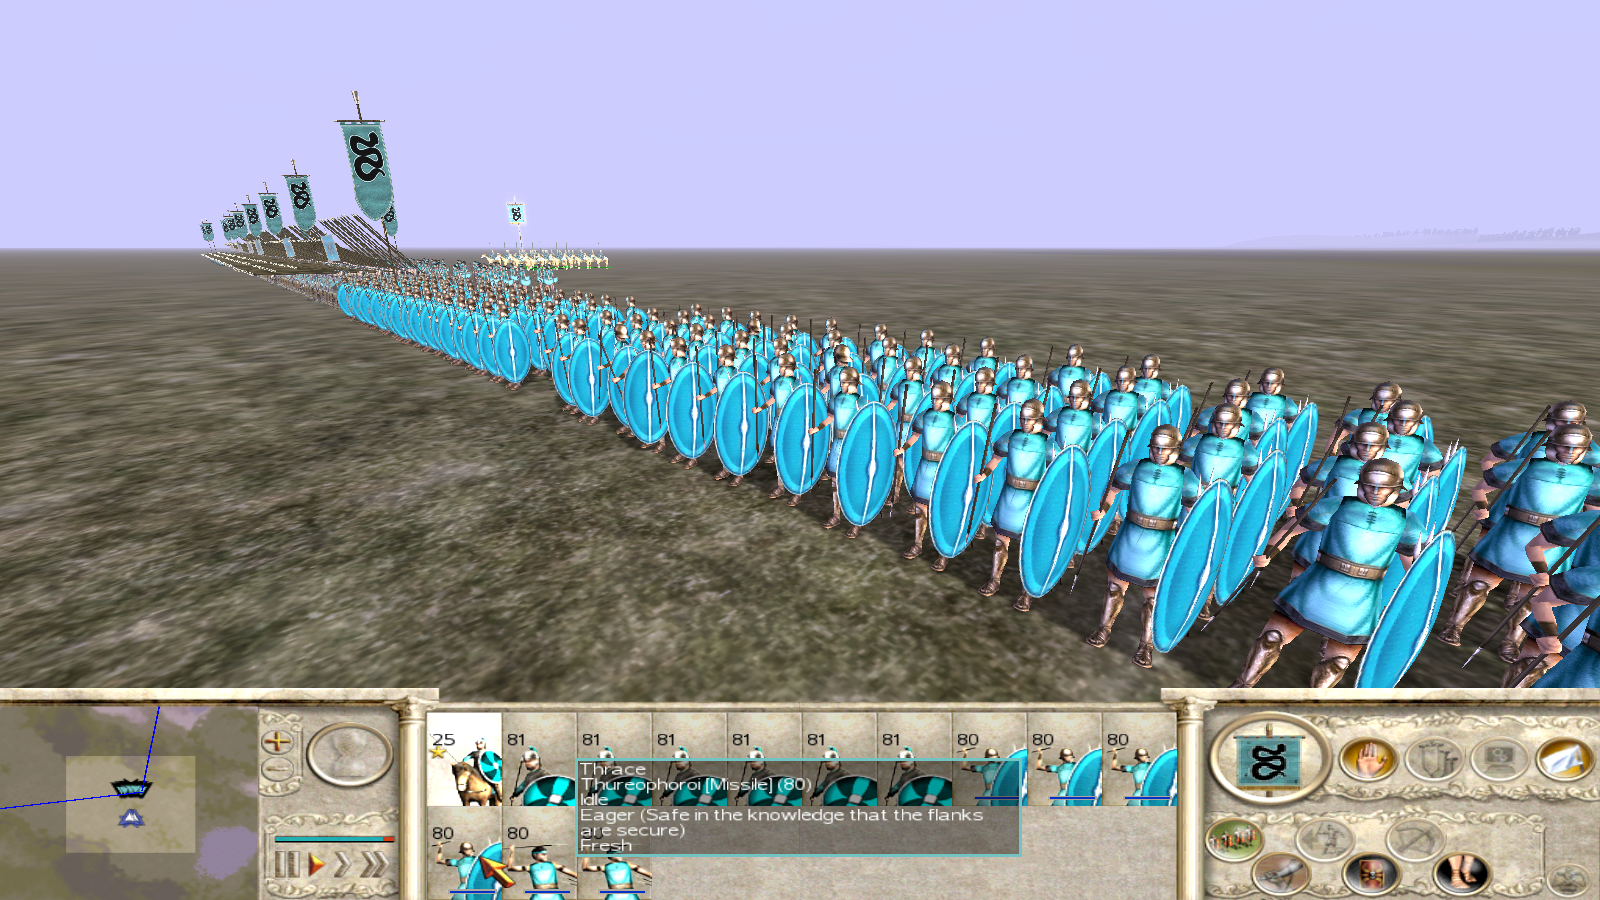
 ). They fill a similar role to Macedon's light lancers, albeit with a weaker charge. Their shields make up for that difference though.
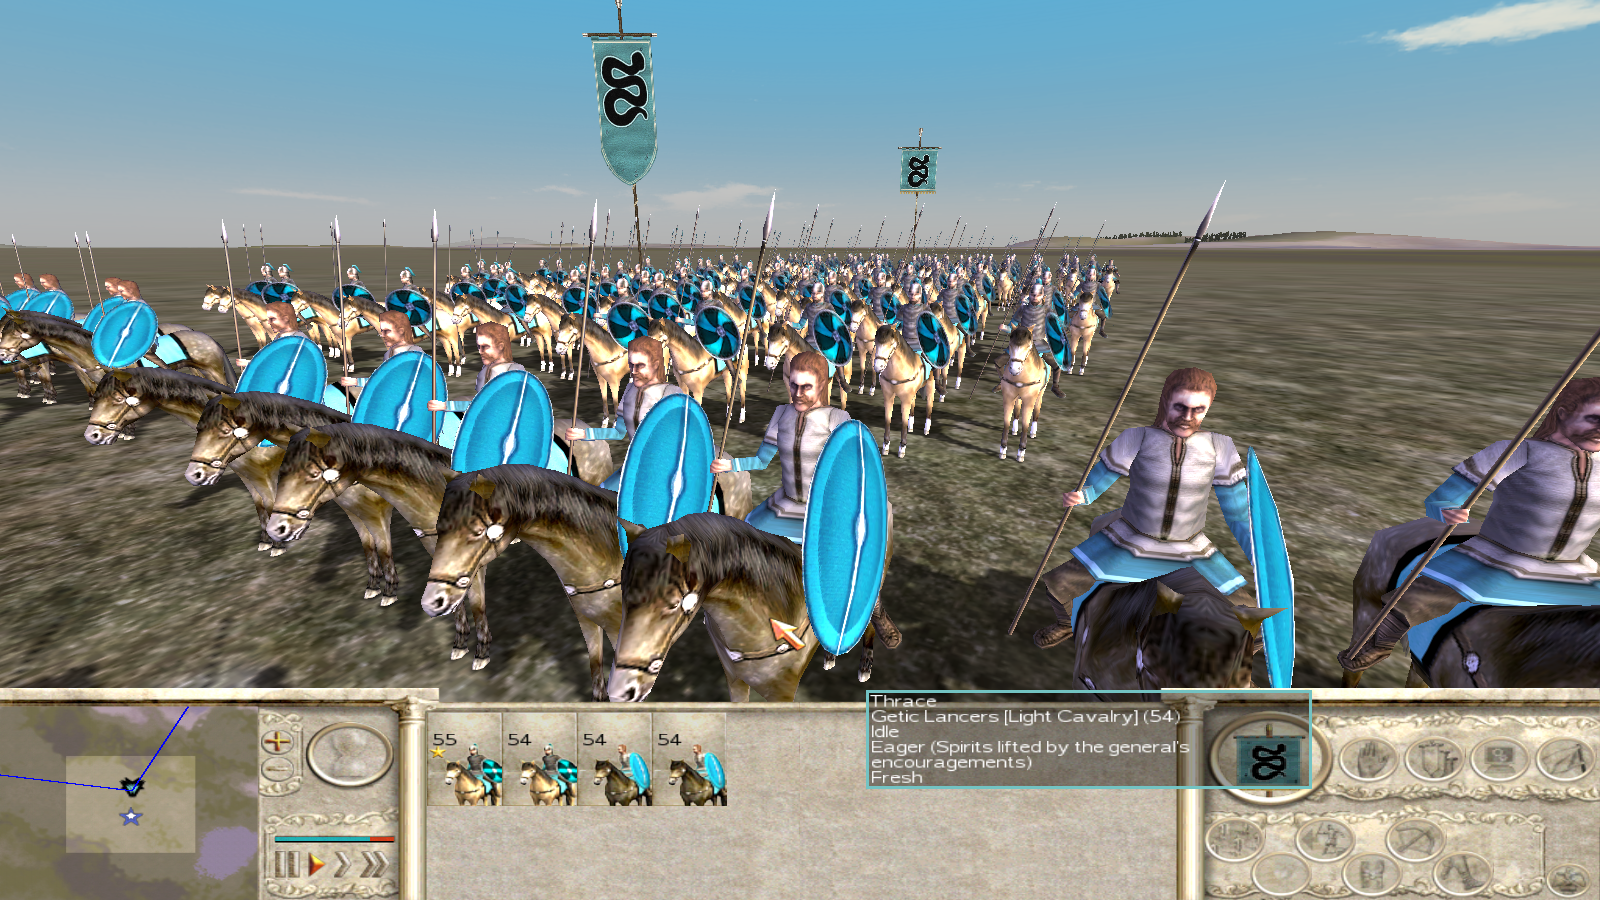

 ). Lets make a simple calculator that runs on the command line!
 . Thanks in advance.
