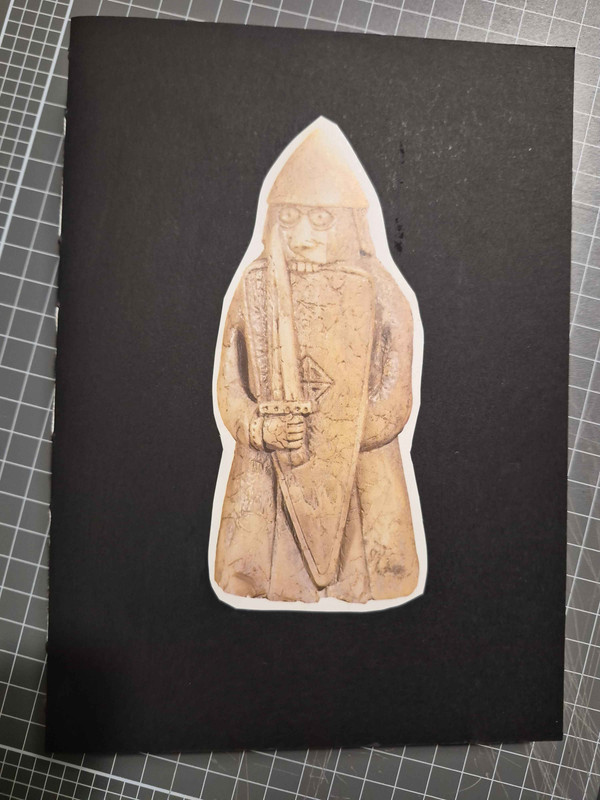
It's October already? I'm a bit behind in posting my bookbinding experiments.
Here's one I did last month. The first proper hinged book. A little square thing..
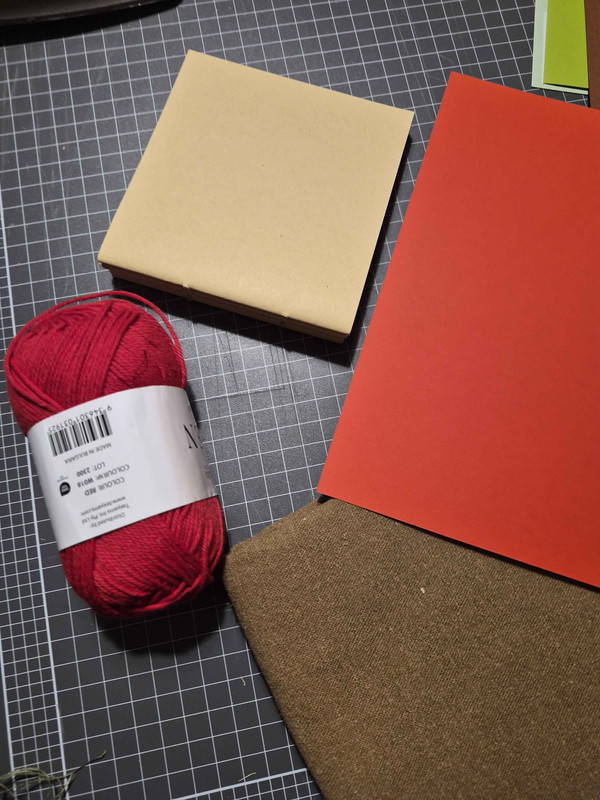
I thought I'd do a red/brown kinda look.
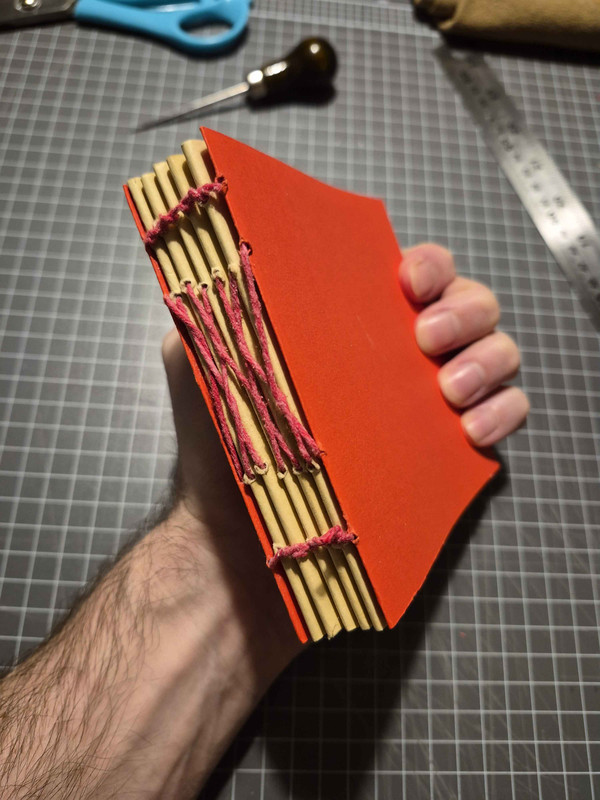
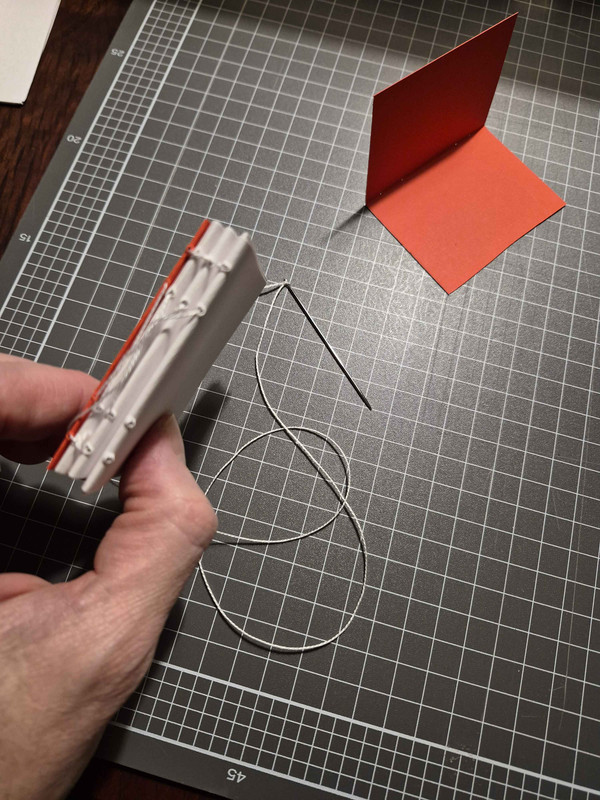
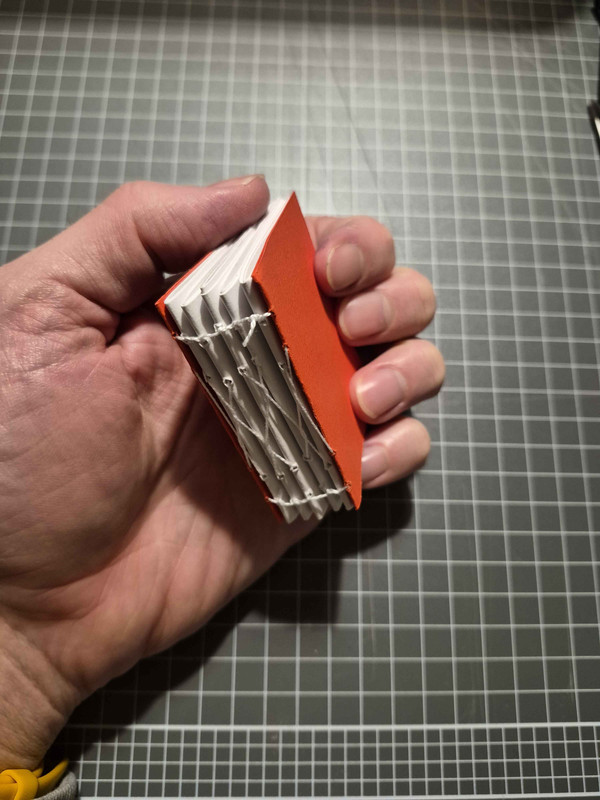
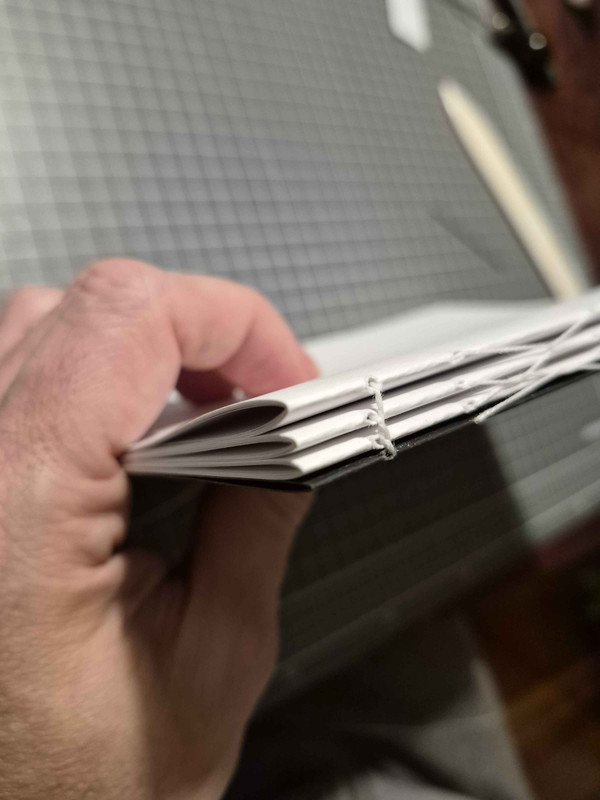
Initially, I was planning on having some exposed French links, but when I waxed the red thread with white paraffin wax it kinda turned them pink, and I wasn't loving the look combined with the brown paper I was using. So I ended up going with a cover after the fact.
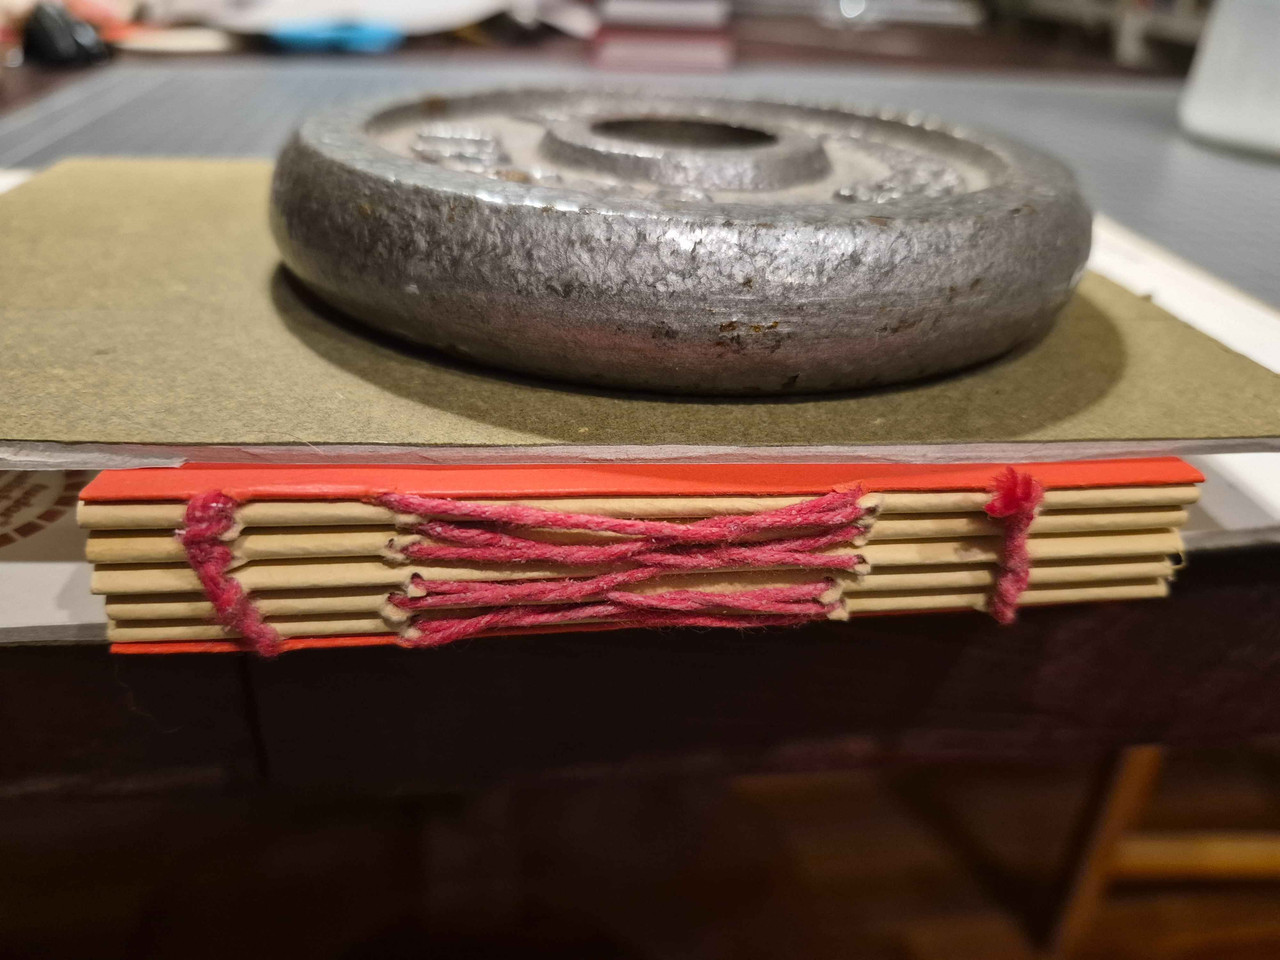
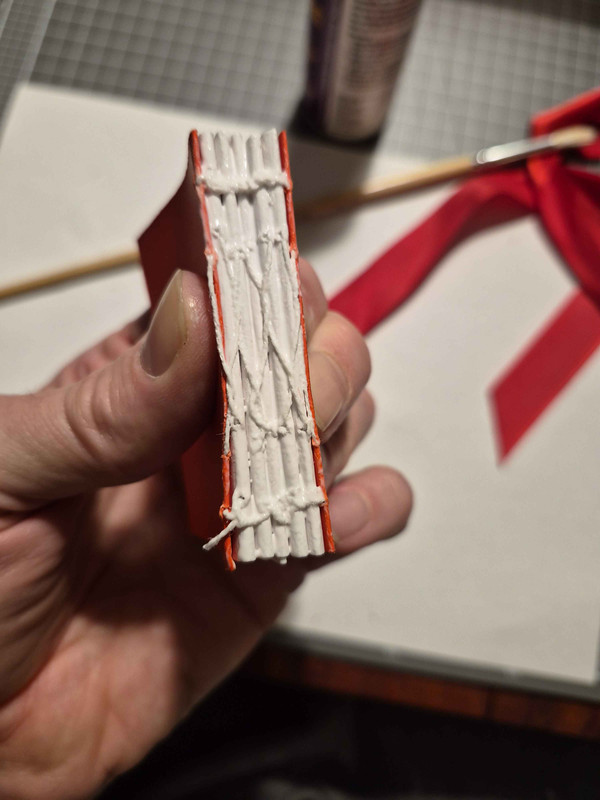
Adding some glue and pressing it.
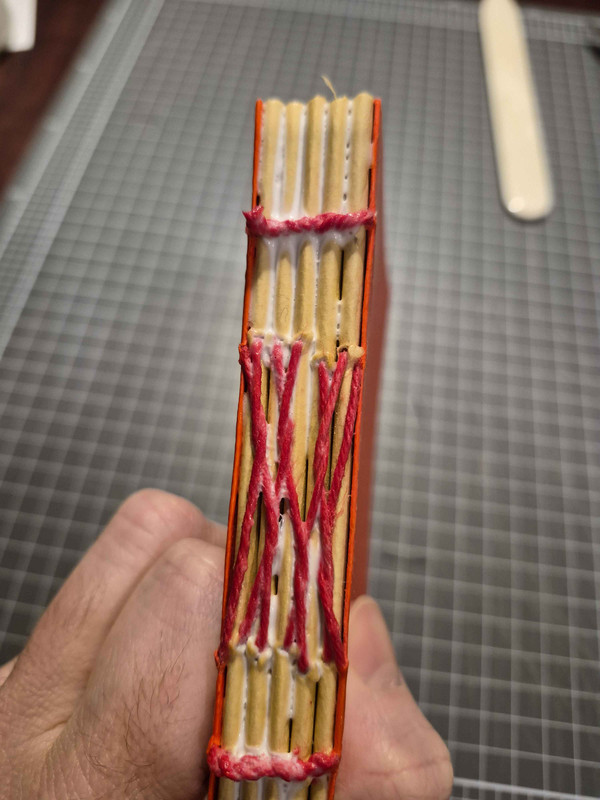
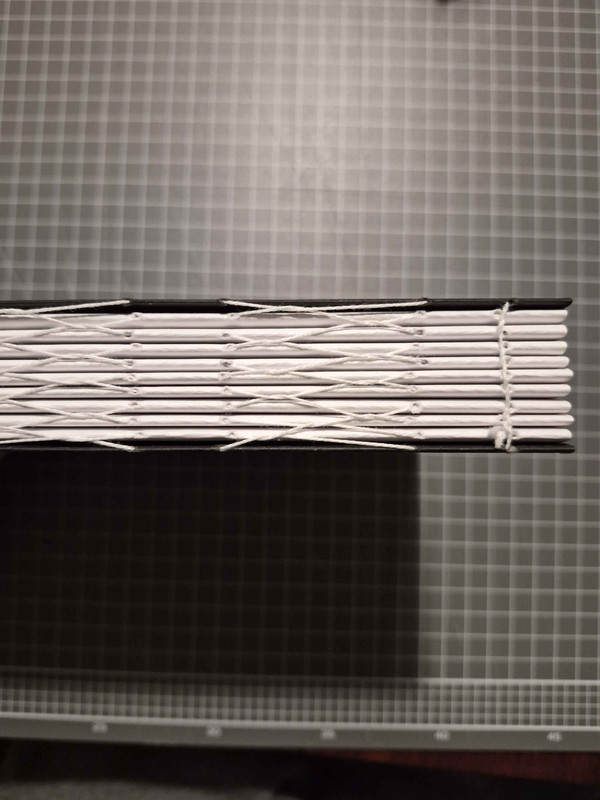
Here you can really see how much glue adds to the overall structural strength of a spine. The trick is that you do it in coats. Of course, a full on proper book also has things like support bands and proper mull. Something I've been experimenting with lately, but that's another post.
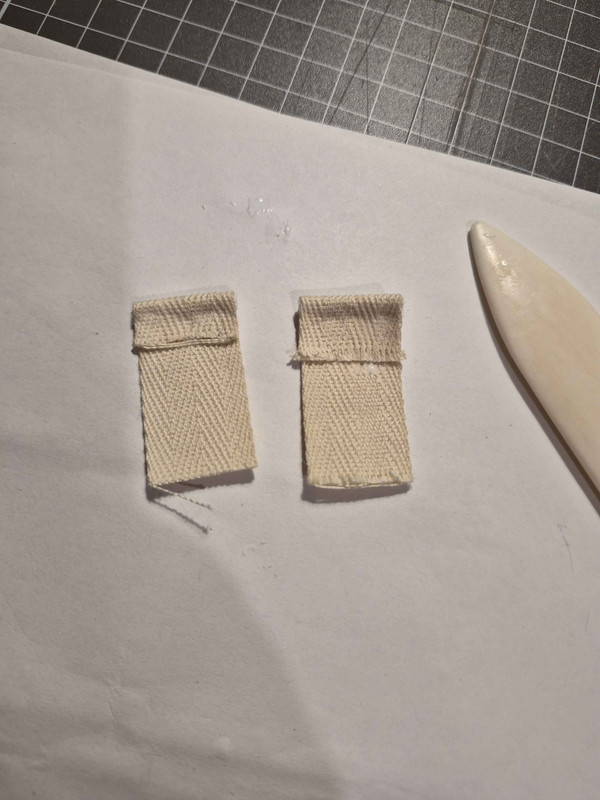
Making some decorative end-bands using support tape and thicker string + glue.
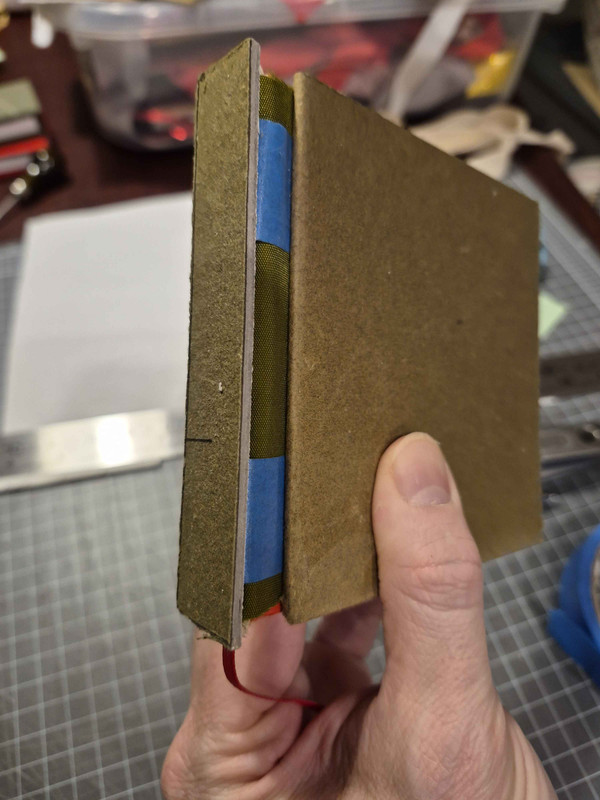
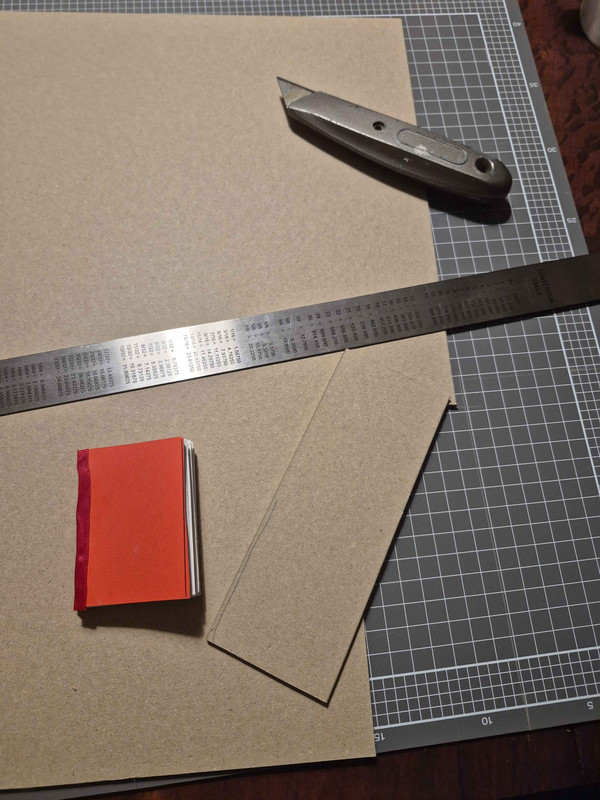
Going back to an online tutorial (Bitter Melon Bindary), I made sure this time I understood the hinge spacing required. What surprised me was how loose it sits on the book prior to adding the book cloth. I wouldn't have guessed it just by eye-balling, as it looks like a huge gap. But this is actually what we need.
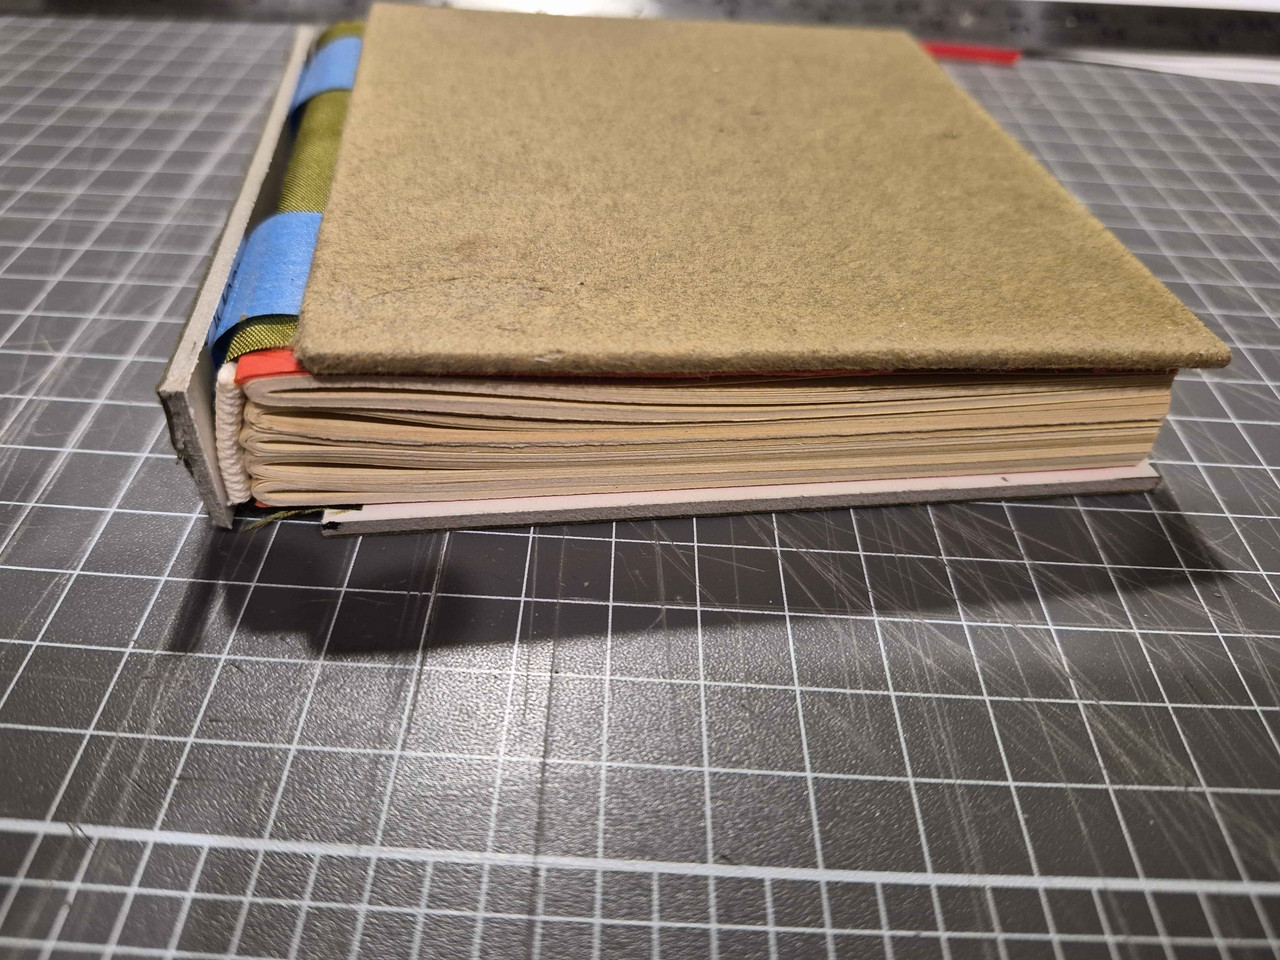
Initially we can use a bit of masking tape just to check the dimensions, make sure it's all fitting snug. Adjustments can be made here. You want a few mm overhang around the text block of course.
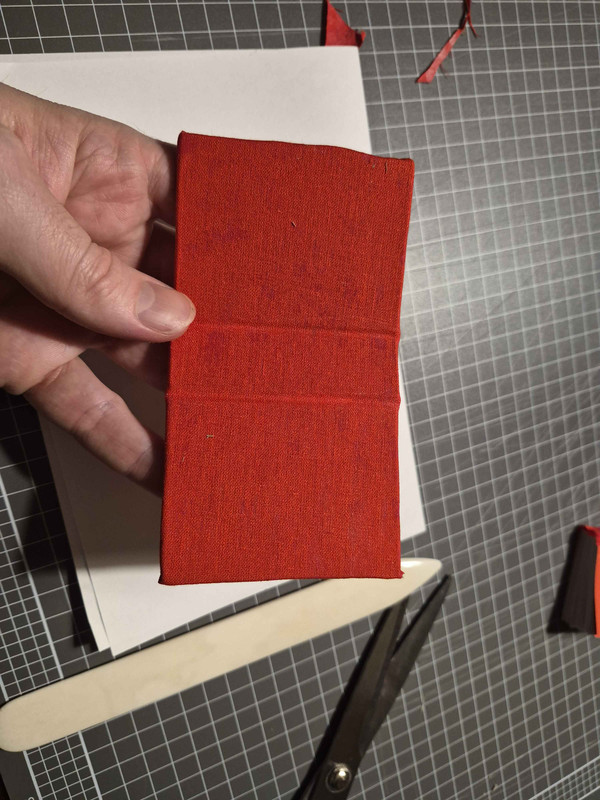
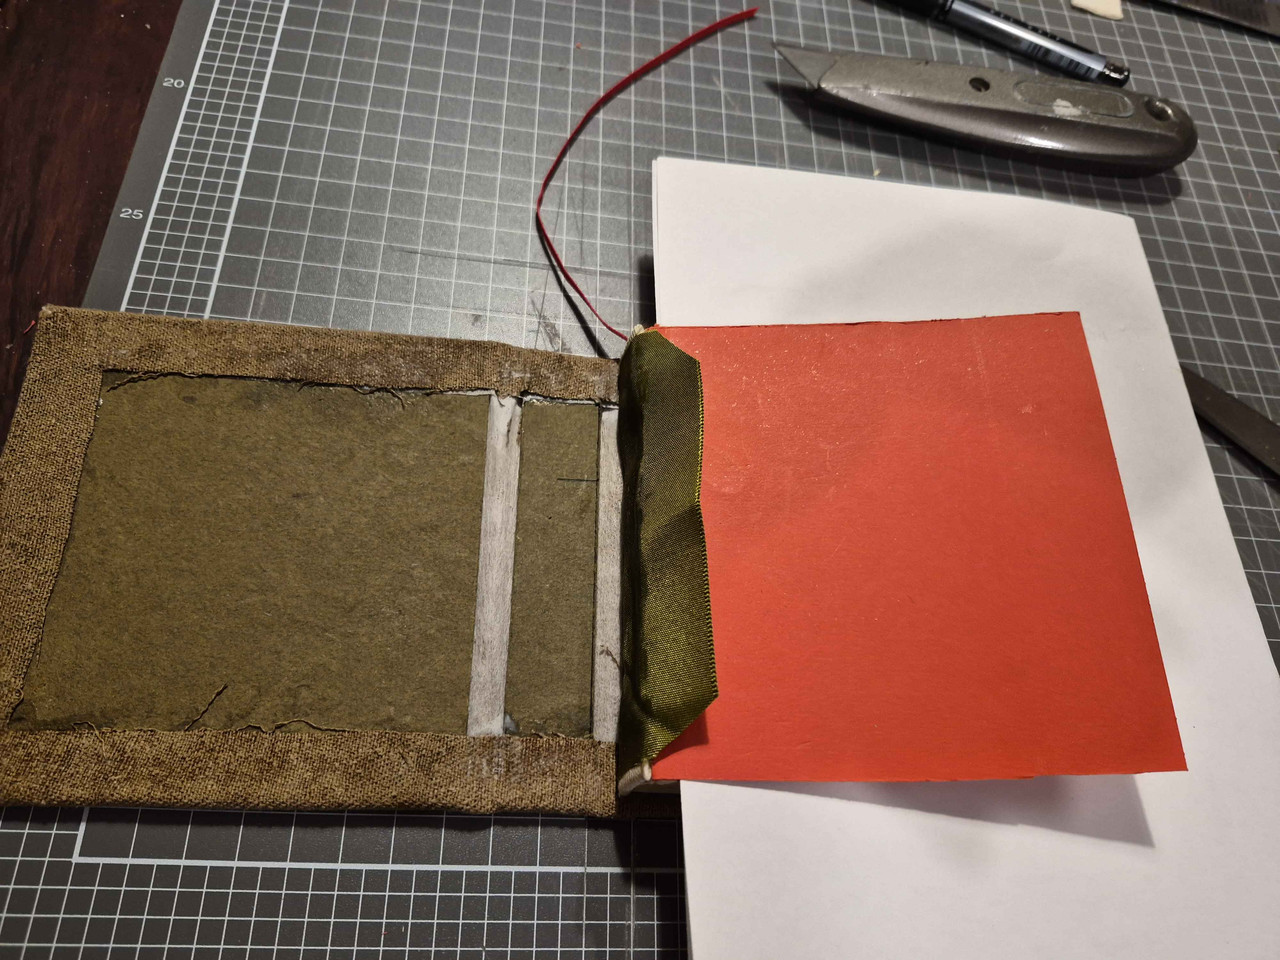 Glued on my over-thick jacket fabric "book cloth" (I've got some proper canvas since then but I worked with this for a bit.)
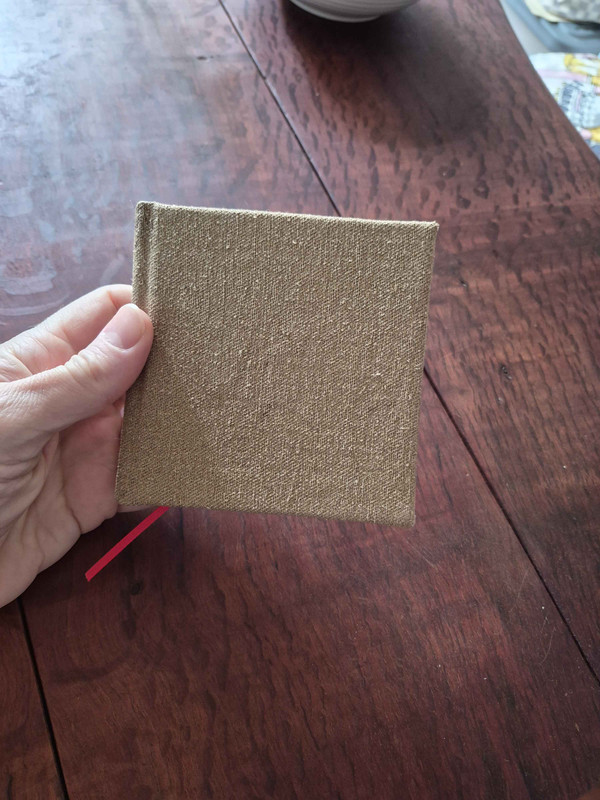
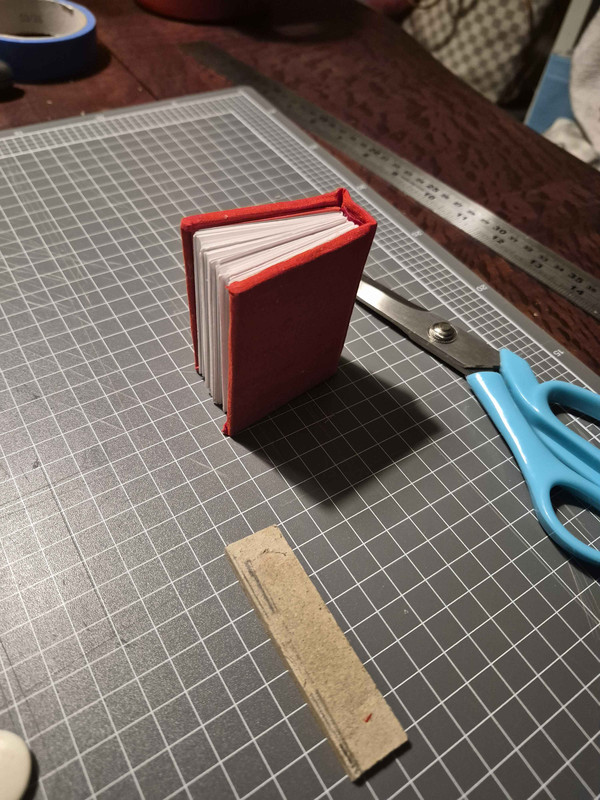
And voila. A cute little notebook thing.
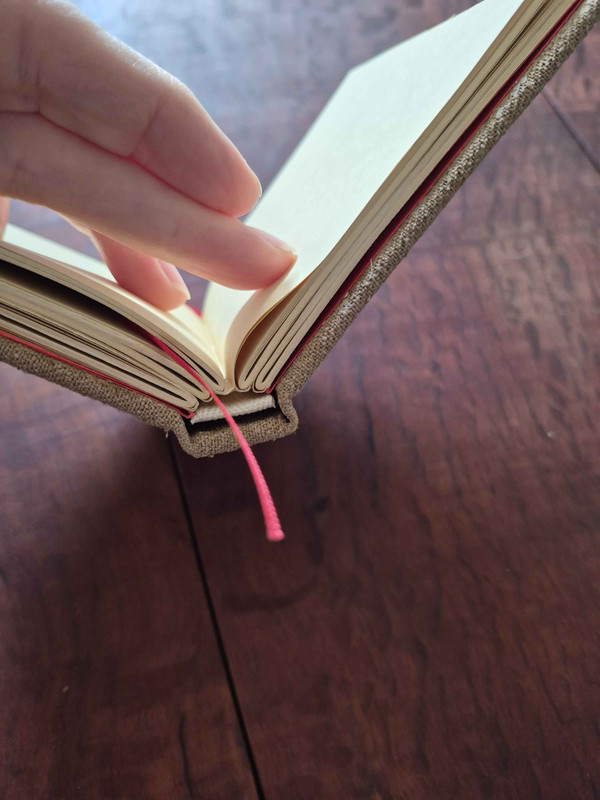
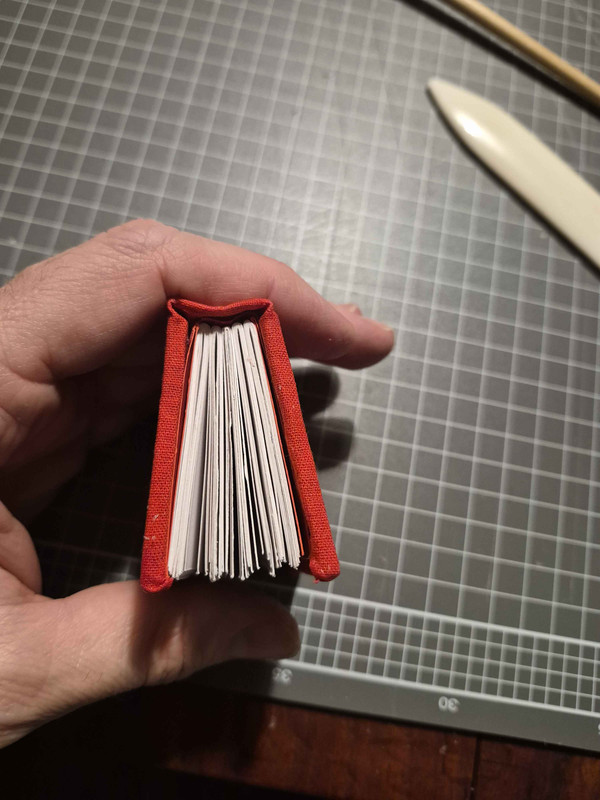
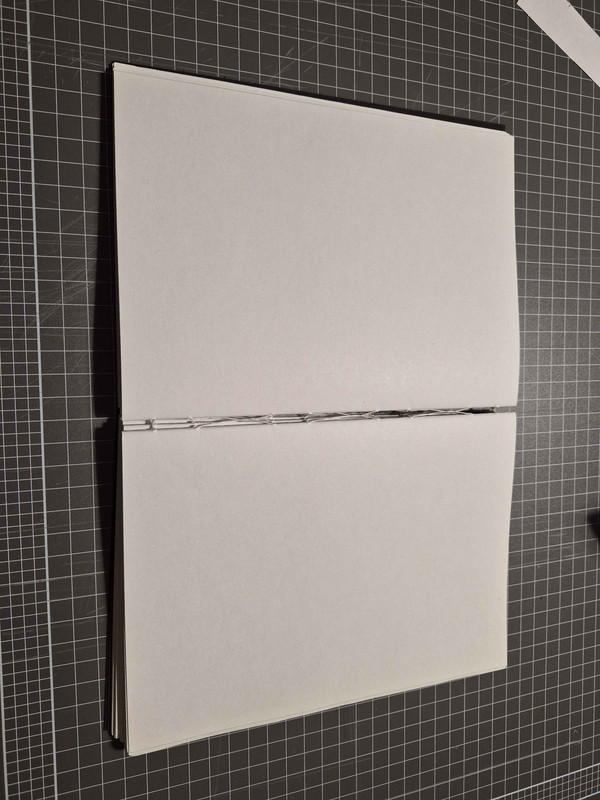
This was really where hinges clicked for me. And you can see how with this technique, the spine is free to lift upwards. This lets you open the book wide and flat without issue.
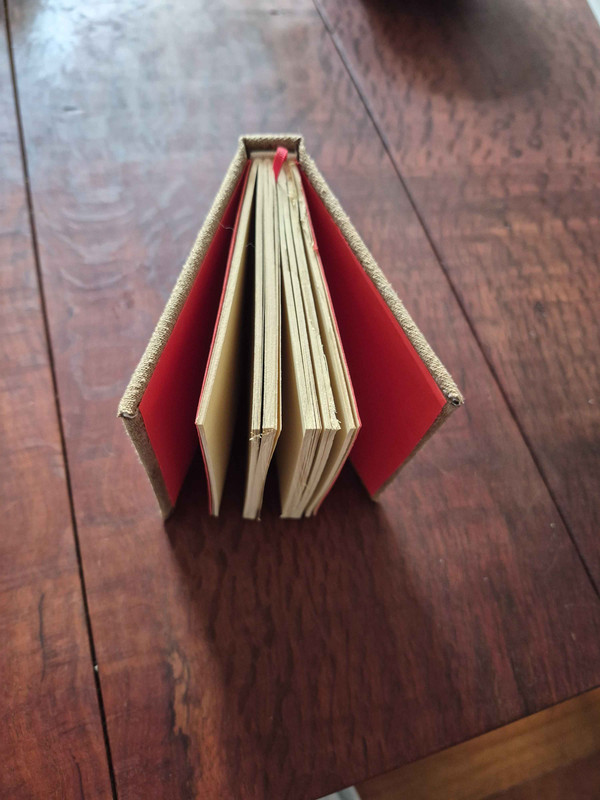
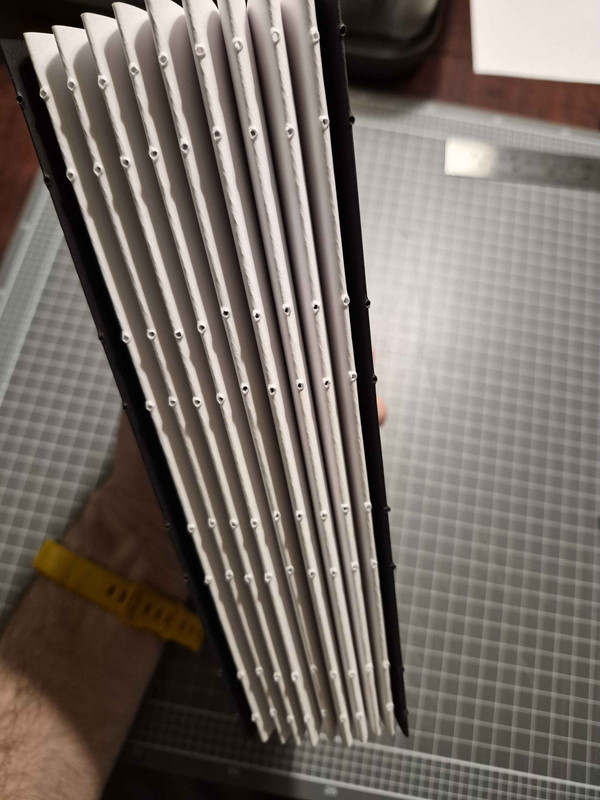
Unfortunately my blade was a bit blunt, and when hand trimming I made a mess. Something I still struggle with, even with a sharper blade, depending on how thick the text block is. A nice industrial strength guillotine would be something. But alas, no space / money for that!
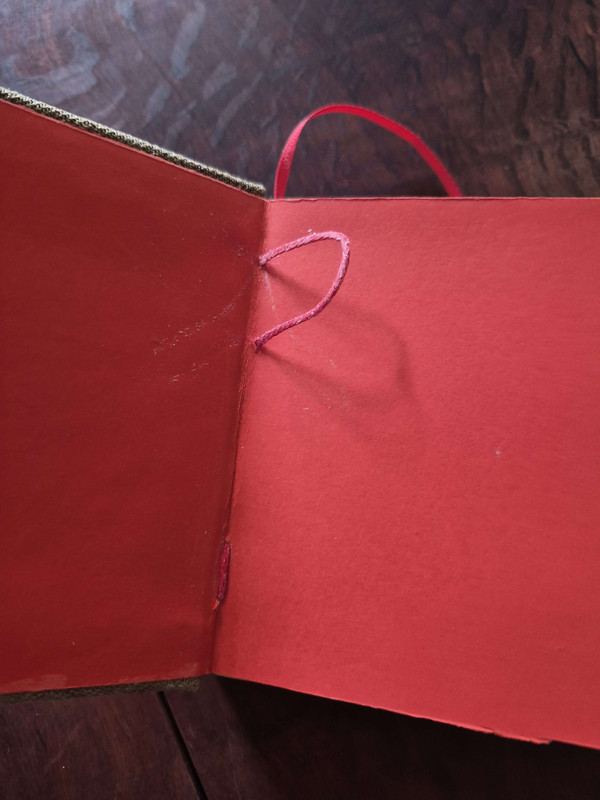
Another glaring mistake I caught after it had dried in the press. Ooops!
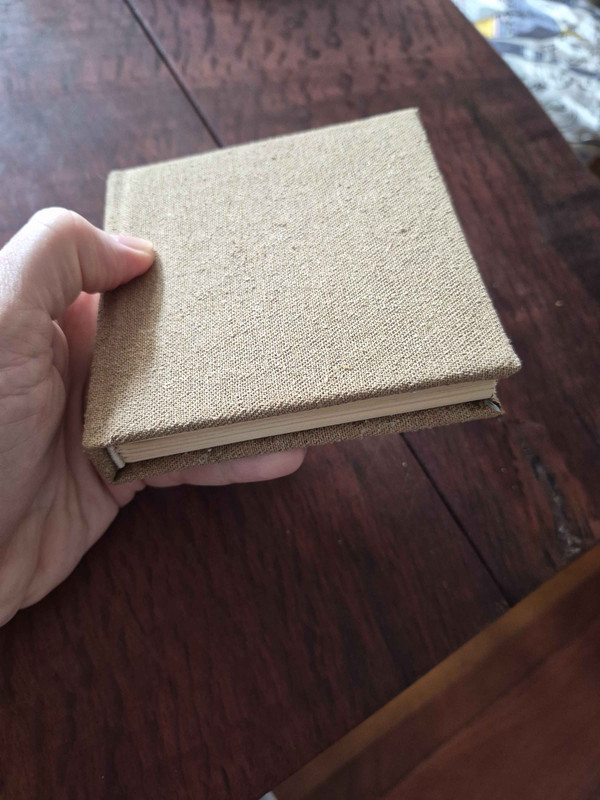
But overall, I was very happy with it as a learning experience in making hard cases.
Here's one I did last month. The first proper hinged book. A little square thing..
I thought I'd do a red/brown kinda look.
Initially, I was planning on having some exposed French links, but when I waxed the red thread with white paraffin wax it kinda turned them pink, and I wasn't loving the look combined with the brown paper I was using. So I ended up going with a cover after the fact.
Adding some glue and pressing it.
Here you can really see how much glue adds to the overall structural strength of a spine. The trick is that you do it in coats. Of course, a full on proper book also has things like support bands and proper mull. Something I've been experimenting with lately, but that's another post.
Making some decorative end-bands using support tape and thicker string + glue.
Going back to an online tutorial (Bitter Melon Bindary), I made sure this time I understood the hinge spacing required. What surprised me was how loose it sits on the book prior to adding the book cloth. I wouldn't have guessed it just by eye-balling, as it looks like a huge gap. But this is actually what we need.
Initially we can use a bit of masking tape just to check the dimensions, make sure it's all fitting snug. Adjustments can be made here. You want a few mm overhang around the text block of course.
Glued on my over-thick jacket fabric "book cloth" (I've got some proper canvas since then but I worked with this for a bit.) And voila. A cute little notebook thing.
This was really where hinges clicked for me. And you can see how with this technique, the spine is free to lift upwards. This lets you open the book wide and flat without issue.
Unfortunately my blade was a bit blunt, and when hand trimming I made a mess. Something I still struggle with, even with a sharper blade, depending on how thick the text block is. A nice industrial strength guillotine would be something. But alas, no space / money for that!
Another glaring mistake I caught after it had dried in the press. Ooops!
But overall, I was very happy with it as a learning experience in making hard cases.